In celebration of this year's "Carnival of Death" (celebrating "Death Mode" in Tetris the Grand Master) I thought I'd offer some general Tetris stacking tips that might be useful to think about for newer players. I'll try to make these agnostic of rotation system, so they should apply across both ARS and SRS games!
A key component of good Tetris stacking is to place pieces in a way such that your stack is receptive to as large a variety of future piece placements as possible. Generally this means you want to try to make your stack "flat, but not extremely flat".
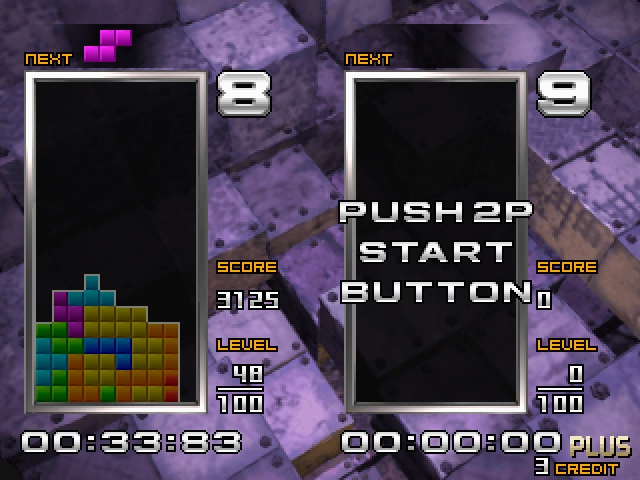
Here's an example of a very stable and receptive stack:

Now here's an example of the opposite:

One of the keys to maintaining a stable stack is to look at the height differentials you create with each placement, and particularly the exact height of the "wells" you create.

Well that are 3 or more rows deep are BAD because they can only be filled with 1 out of the 7 possible pieces. This means two things:
- Try to avoid creating wells of 3 or more rows. The J piece here could have been placed elsewhere, like in columns 8+9 pointing upwards.
And perhaps even more importantly:
- If you DO create a well of height 3 or more, try to fill it with your next I piece ASAP.
This is very important. In general, if you have a situation where you absolutely need a given piece, make sure you don't waste your next instance of that piece on something else! This is a problem I see all the time with inexperienced players -- don't let it happen to you! When you have a well 3 rows deep, you should form a PLAN for the next I piece -- an "I plan". Keep remembering this so that the next time you receive an I block, you immediately place it in the needed place.
Just like we have "I plans", another very useful concept to think about are "L plans" and "J plans". I, L, and J are often the most common pieces for which you will have a specific need for. (closely followed by T)
Again, this is a common mistake. Often beginners might place a J in columns 6-8 instead. Do not do this! Fill the slot on the left side with your J instead!
Let's look at one more example to close things out:

That's right! We've created a slot that can only be filled by L or I. And of the two, it's much preferred to fill it with L!
Notice that if we fill this slot in column 5 with I, the height differential between columns 4 and 5 is still 2 rows. This is another reason why using L and J to fill 2-deep slots is usually preferred -- because L and J will end up with a height differential of 0 instead of 2, which often results in a smoother stack.
So we should aim to fill this hole with an L if at all possible -- we should form an "L plan". If we end up getting an I before an L, that's ok too (use your judgment), but L is preferred.
But wait...was there a better way to handle this situation?

This O placement demonstrates that thinking about flexibility for these sorts of wells is important. A lot of this comes down to experience with specific structures and situations. In the next installment of these tips I'd like to go over some common ones that are good to know about.
Thursday, March 28, 2019
Timmie's Tetris Tips: Height Differentials and I/L/J plans
Subscribe to:
Post Comments
(
Atom
)
No comments :
Post a Comment